Self-Drafted Maternity Dungarees

I’m so excited to finally share this make with you. I don’t know why it’s taken me so long to put it up on the blog, but it is probably because I’ve had a lot on my mind recently. We are on a bit of a mission to get a million and one things done before the baby comes.

This make was my first attempt at maternity sewing and was self-drafted. I’ve decided to try and push my pattern cutting skills a bit more this year and try making more complicated garments from scratch. I really enjoy the problem solving element of pattern cutting and dungarees were an interesting challenge.

I hadn’t originally intended these to be maternity suitable, I started drafting the pattern before I found out I was pregnant. When I found out I put the pattern aside thinking I’d wait, but my desire for dungarees was too strong and after a couple of months I decided to make a couple of adjustments and get on with sewing them up.

The modifications I made to my original pattern were relatively minimal:

– I widened the pattern at the hips to give a looser fit (I had originally planned for quite a close fit at the waist and hips, but I actually prefer them looser).

– I extended the width of the side seam button plackets, which are sewn to the side seams of the back waistband. This meant I could add extra buttons to allow me to adjust the fit as my bump grows.

I think they turned out pretty great. I love wearing them and they have been a life saver for occasions which call for something smarter than my current maternity uniform of stretchy tops and leggings.

The corduroy, from Merchant and Mills, is so comfy to wear and I love the deep navy colour. The bib is lined with Atelier Brunette fabric leftover from this project .

The one problem I ran into making these was that I tried to hammer on the buttons for the buckles and managed to break one of them. It turns out you just push them on by hand, so my trusty mallet was completely unnecessary. Oh well, you live and you learn.

Self Drafted Dungarees by Attie and Dora

Dungarees designed and made by Attie and Dora

Dungarees Designed and sewn by Attie and Dora

Attie and Dora Dungarees Back View

Close Up Self Drafted Dungarees Attie and Dora

Self Drafted Maternity Dungarees

Maternity Dungarees

As my bump grows (see photos above) I’ve been adjusting the bib straps to better fit the bump. I haven’t had to add new buttons to the side seam panels yet, and I’m nearing my third trimester. I’m really pleased that I’m still fitting into them.


SaveSave

Spring Dora Dress 25% off Offer Code

The weather is finally warming up in Shetland and it is really starting to feel like Spring. Two lambs have been born on the croft and if you follow me on Instagram you might have seen that I am expecting a baby, we are so excited and the baby is due in August 🙂 .

To celebrate this I wanted to share an offer code with you, for 25% off the Dora Dress and Top pattern in my Etsy Shop.  I hope this post will inspire you to give the Dora Dress pattern a try for your Spring/Summer sewing wardrobe.

Use the code SPRINGDORA at the checkout for 25% off. Follow this link to buy the dress.

This change of season has inspired me to make some new Dora Dress samples to show how the pattern can be worn during warmer times of year. You will notice I am not modelling these samples, as thanks to my growing baby bump I no longer fit in them, ha! I really enjoyed not being in front of the camera this time. I am definitely not a natural at having my photo taken so it was a relief to get to hide behind the lens and help Aaron to compose the shots.

The Dora Dress made up in a cotton lawn fabric is so comfy and breathable and great for hot weather. We don’t get much hot weather up here in Shetland but I did wear a cotton lawn Dora Dress while on holiday in London last year, it was above 30 degrees celsius  (very hot for a Shetlander), and wearing the dress certainly helped me cope with the heat.

Marjolein, a good friend of mine who you may remember from this post if you have been following me for a while, kindly agreed to model these samples for me. She is an amazing comedian, I would recommend going to see her perform if you get the chance. You can follow her here.

The blue and white fabric was from Merchant and Mills and is a beautiful weight and drape for this dress. I love the print.

We took these photos at the Lodberries in Lerwick, if you watch the BBC series ‘Shetland’ you may recognise the building behind her as Jimmy Perez’ house.

Dora Dress Side View 2 Attie and Dora

Dora Dress Front View Attie and Dora

Dora Dress Front View Attie and Dora Patterns

Dora Dress Back View Attie and Dora Patterns

Dora Dress Back View

Dora Dress Side View Attie and Dora

Dora Dress Close Up Attie and Dora


This second version was made using a burgundy poly crepe fabric from Stoff and Stil.

Last summer I wore a green crepe version of this dress to a couple of weddings and I thought it made a lovely wedding guest dress.

Red Dora Dress Attie and Dora

Red Dora Dress Attie and Dora Side

Use the code SPRINGDORA at the checkout for 25% off. Follow this link to buy the dress.

SaveSave

Driftless Cardigan

Just a quick post today. I wanted to show you the Driftless cardigan I made this week. The pattern is by Grainline Studio and it gets a big thumbs up from me.  I love the design and it came together really quickly on the overlocker.

The pattern calls for a medium weight knit and I wasn’t sure if this really soft and stretchy hacci sweater knit fabric from Girl Charlee UK would suit the pattern, but I think it worked. The fabric drapes beautifully and I feel effortlessly chic in this cardigan.

I actually made no alterations to the pattern for my height and it fits really well. I think if I make this again in a sturdier knit, I will add a bit of length to the bodice and sleeves, as I’m guessing the stretchiness of the fabric is having an effect on the fit.

I’ve already ordered more fabric to make more of these, so keep an eye out for more versions coming soon.

Driftless Cardigan Front

Driftless Cardigan Side

Driftless Cardigan Front

Driftless Cardigan Back

Handmade Wedding Dress and Silk Robe

2016 has been a really interesting year for me sewing-wise, but so far my biggest sewing achievement has gone unblogged.  The photos came through just in time to write this post before the end of the year, and I can’t wait to tell you all about my experience making a wedding dress and silk robe for my friends’ wedding.

Lace Knit Wedding Dress and Silk Robe

Photo credit Alexander Martin

The bride’s vision was a knitted lace, backless dress. The dress was made in collaboration with the mother of the groom, Helen, who made the extraordinary knitted part of the dress.  My job was to make the silk underdress, which would be combined with the lace knit overlay. I was also tasked with the job of designing and making a floor length silk robe with a slight train.

The underdress was necessary, not only to protect the bride’s modesty, but also to provide some structure to support the knitted layer and hold the shape of the garment when the two were sewn together. This was of particular concern as the wool had a tendency to stretch out.

The main challenge we faced making this dress was that the bride lives in Glasgow so I posted each toile to the bride and carried out fittings via FaceTime and Facebook messenger. I did visit her once in person to adjust the dress, which was helpful, but probably the saving grace in the end was that we made a duct tape dress-form of the bride’s torso so that we could use it to check the fit as we went along.

The dress

My process for making the silk part of the dress began by making the bride’s bodice and skirt blocks. I then started drafting the dress and sent her the first toile to try on.

The first toile was very low cut, all the way down to the small of her back. It occurred to us early on that this design feature could prove quite impractical, as it would be awkward to wear and dance in without it falling off. I did a lot of research about constructing backless dresses, mainly online and with reference to other patterns and shop bought garments. We concluded that if we made it so low cut we would either need to have something holding it together at the back along the top of the shoulders,  or we would need to stick the dress to her on the day to keep it in place.

In the end we decided this just wasn’t going to be practical and it made sense to raise the dress at the back closer to her natural waist, so I redrafted the pattern.

In total I made 10 toiles before the final garment. Some were due to fitting alterations, but also the style of the dress evolved quite a lot throughout the process as the bride tried them on and clarified her vision. The final version ended up being a bit of a pattern hack as very close to the deadline we changed the bodice style from princess seamed, empire line to the lingerie slip like style. I used the cup piece from a vintage lingerie pattern (New Look 6029) to save myself time and merged it with my dress to give the final garment you see in the pictures.

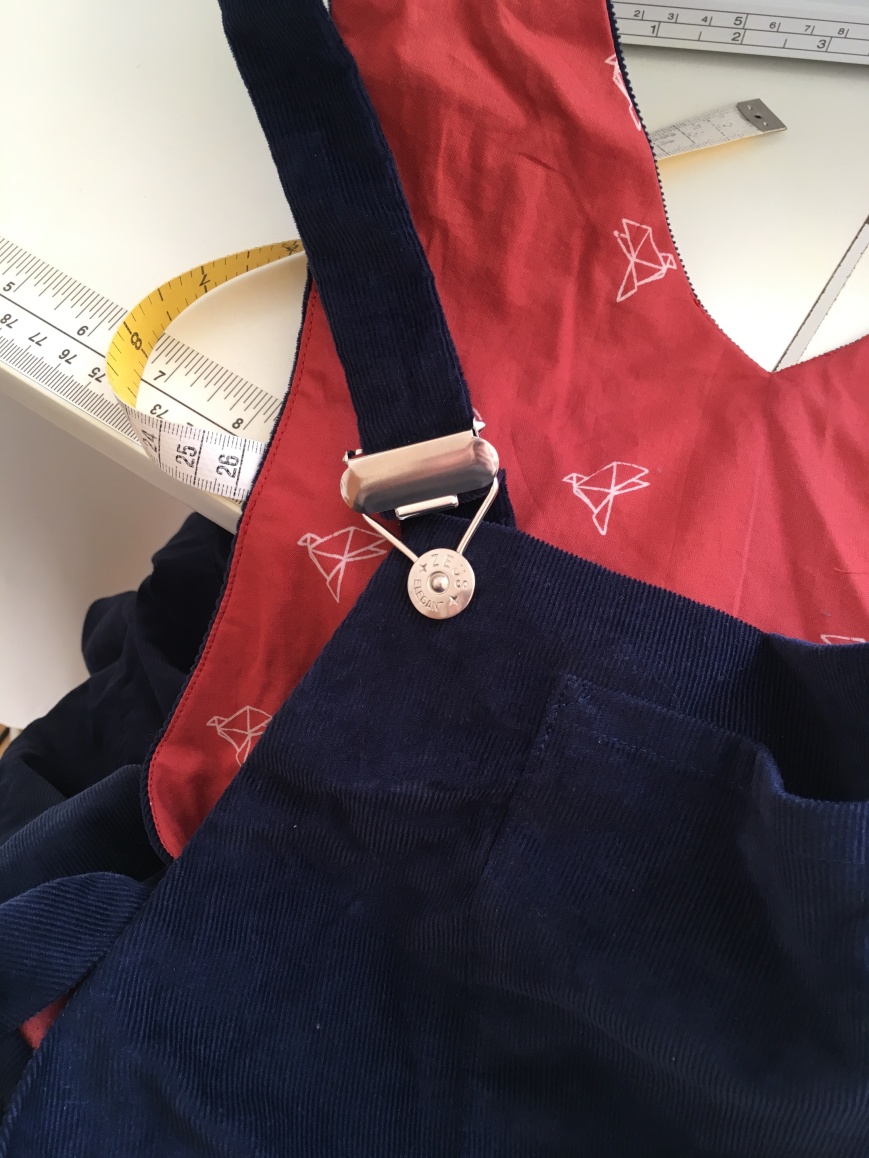
The under-dress was made with silk dupion, which was a beautiful weight and provided some structure for the knitted overlay. The two were made independently and then sewn together at the zip.  The dress was sewn partly on the machine, but finished by hand. I used satin bias tape to finish the hem and the neckline. The straps were rouleau made with the silk dupion. I sewed the zip in by hand.

I took some photos of the underdress before we attached the knitted layer.I apologise for the terrible lighting. I was very busy that month so they were taken at 6am before I went to work. The sun was only just rising, so I didn’t have much daylight to work with. I was actually lying on the floor to get the full length of the dress in the shot. Although they aren’t the most beautiful photos I  wanted to include them to give you an idea of what the underdress looked like before we combined the two.

Also my over-critical brain wants me to mention that the dress could have done with a good steam before these photos, but oh well 🙂

Silk Wedding Dress
Silk Wedding Dress
Handmade Silk Wedding Dress

Handmade Silk Wedding Dress

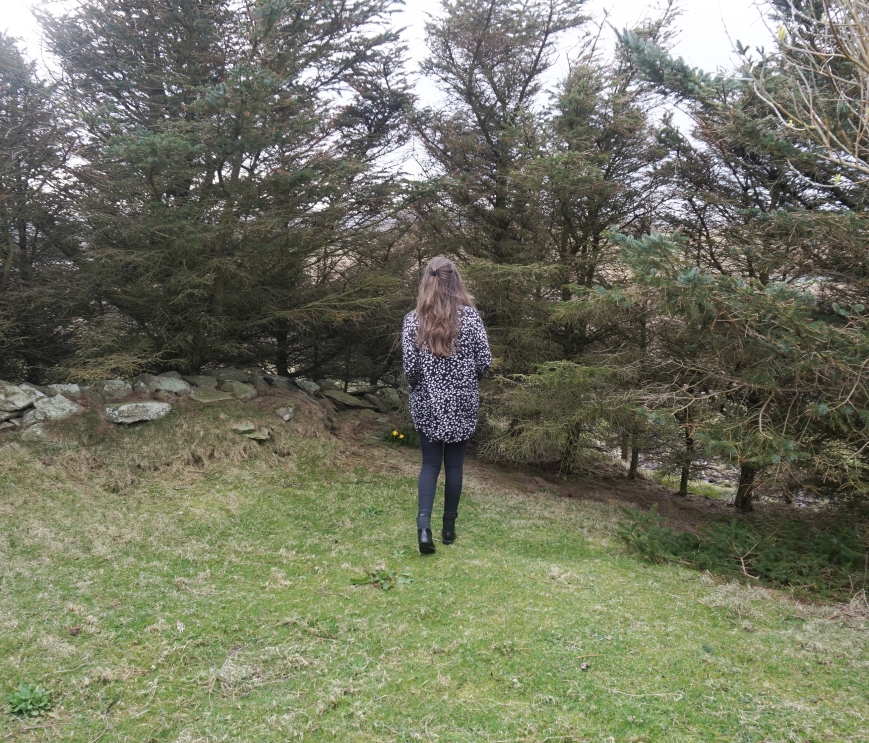
This week the happy couple, Jim and Sam, sent me copies of their wedding photos so here is the dress and robe on the day. It was an amazing feeling to see Sam walking down the aisle in mine and Helen’s creation. We were very proud. It was a first for both of us.

Lace Knit Wedding Dress

Photo credit Alexander Martin

Lace Knit Wedding Dress

Photo credit Alexander Martin

Lace Knit Wedding Dress

Photo credit Alexander Martin

Lace Knit Wedding Dress

Photo credit Alexander Martin

Lace Knit Wedding Dress

Photo credit Alexander Martin

The Robe 

The robe was made with the same fabric as the underdress. I made an outerwear and sleeve block from the bride’s measurements. I then drafted the pattern, which was floor length with a slight train. The robe had no closure at the front, which meant it was very simple and elegant in style. Unfortunately I don’t have a photo of the full length of the robe. The bride wore it as she walked into the hall for the meal and it billowed out behind her beautifully.

Lace Knit Wedding Dress and Silk Robe

Photo credit Alexander Martin

P.s.If I manage to get hold of a photo of the full silk robe I will share it on Instagram and update this post.