A Little Lawn Party Dress

I’m really excited to share my #alittlelawnparty dress with you. I was asked to be an ambassador for this spring themed sewing challenge by the organisers Atia @thebrightblooms and Mel @handmadebyditsytulip. There are lots of amazing prizes on offer so if you like the sound of making something spring themed you should definitely get involved. For more info check out this link.
When I was asked to get involved in this challenge it took me a while to figure out what to make. I was unsure as I don’t tend to sew seasonally. In Shetland there isn’t a massive distinction between what you wear season to season, you need to dress reasonably warm all year round. However, I thoroughly enjoyed choosing a pattern and fabric based on Spring, and it got me feeling all cheery and prepared for the changing weather, so maybe I should start doing more seasonal sewing.

The pattern I used is from the Stylish Dress Book, Simple Smocks, Dresses and Tops by Yoshiko Tsukiori. It is such a cool book. I actually got this book when I first started to sew, I made one top and then forgot about it. When I found it the other day I was overjoyed as I still absolutely love all the patterns in it. It was so funny sewing something up from this book again as I have come so far with my sewing abilities since I first used it. I remember struggling a bit with the first garment I made about 4 years ago, mostly as I didn’t know what bias binding was yet,  but this time it was a breeze.

The construction of the dress was fairly simple. The neckline is finished with bias binding, leaving it open at the ends so that the cord can be inserted through. All the rest of the construction is fairly standard as it is such a simple shape. I overlocked the seam allowances and finished the hem on the machine. The dress came together really nicely and the sleeves were a breeze to insert. I think this pattern is really well drafted, simple but effective.

I’m not sure if I chose the right size, as I went for a L. It does swamp me a little, but being tall I think I can pull off that oversized aesthetic. I also lengthened the skirt by 5cm to account for my height 5’11”. This was a good idea as it would have been far too short otherwise.

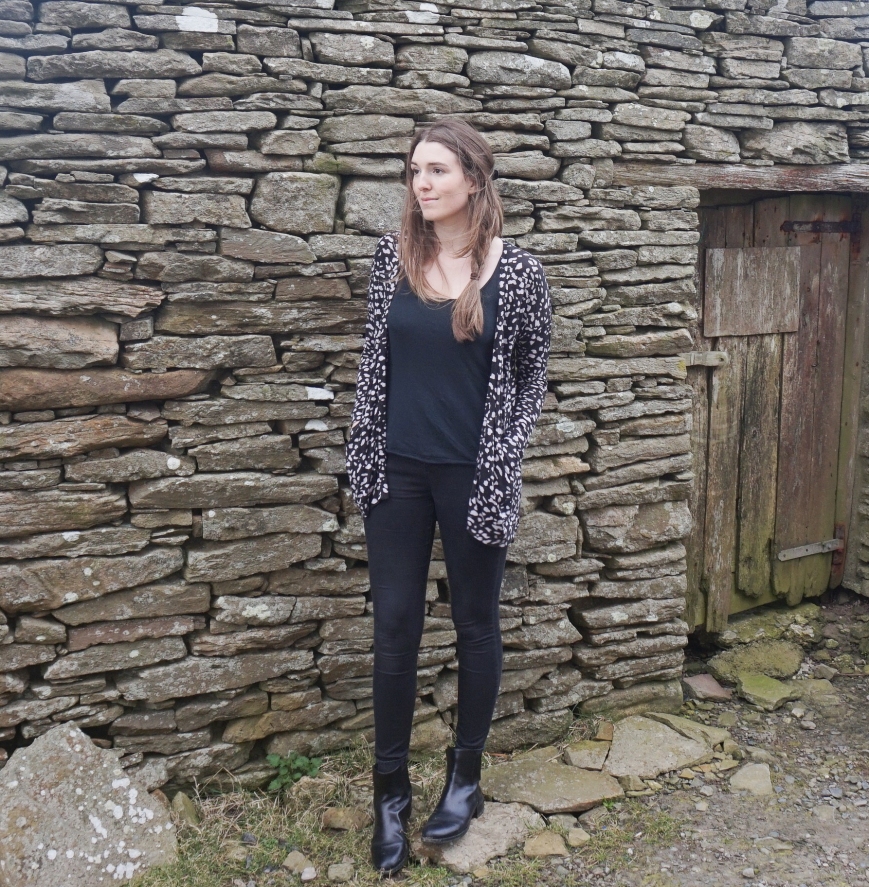
The fabric is by Atelier Brunette. I purchased it from Backstitch a couple of years ago. I didn’t know if this fabric choice was going to work with this pattern. I thought it might  look a bit like a moo moo or a nightie, but it is a beautiful colour and I think layered up with a cardigan it looks really good. Once the weather heats up a bit more, or if we go on holiday anywhere hot, it would be a really comfy summer dress.

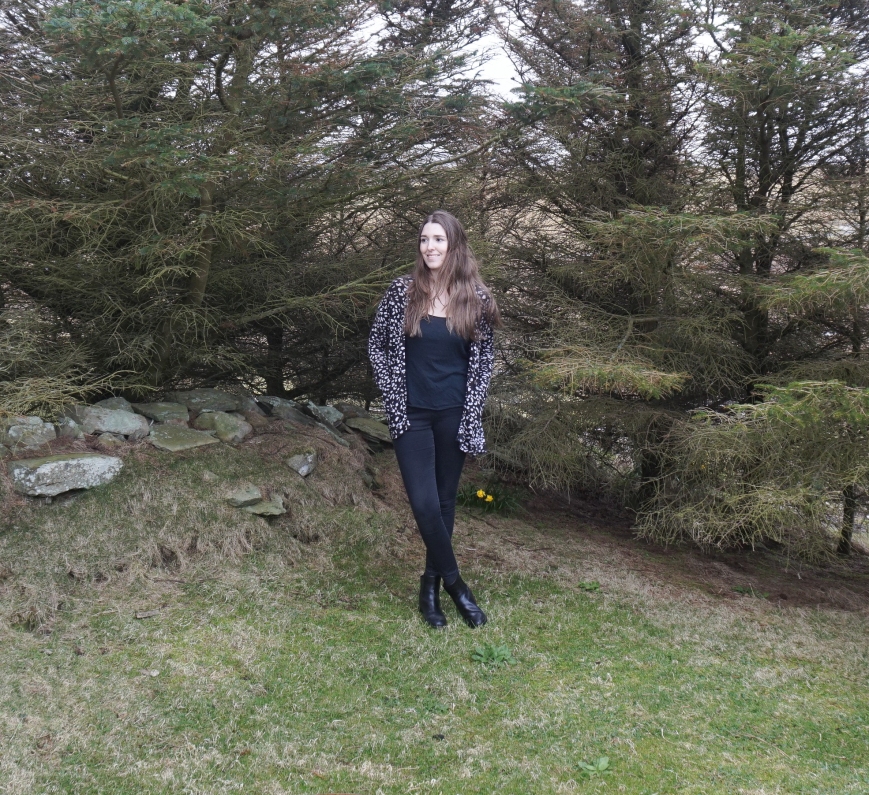
I also included a photo below of my newly finished hand knit mohair cardigan. Another Needed Me Cardigan from Wool and the Gang. I wear my first one so much I thought I needed another. I love that this is a lighter colour than my first version as it works really well with more summery outfits. The great thing about mohair is it is so lightweight it works for cold and slightly warmer weather. I think with the weather in Shetland the dress with this cardigan is a more realistic example of how I will be wearing it.

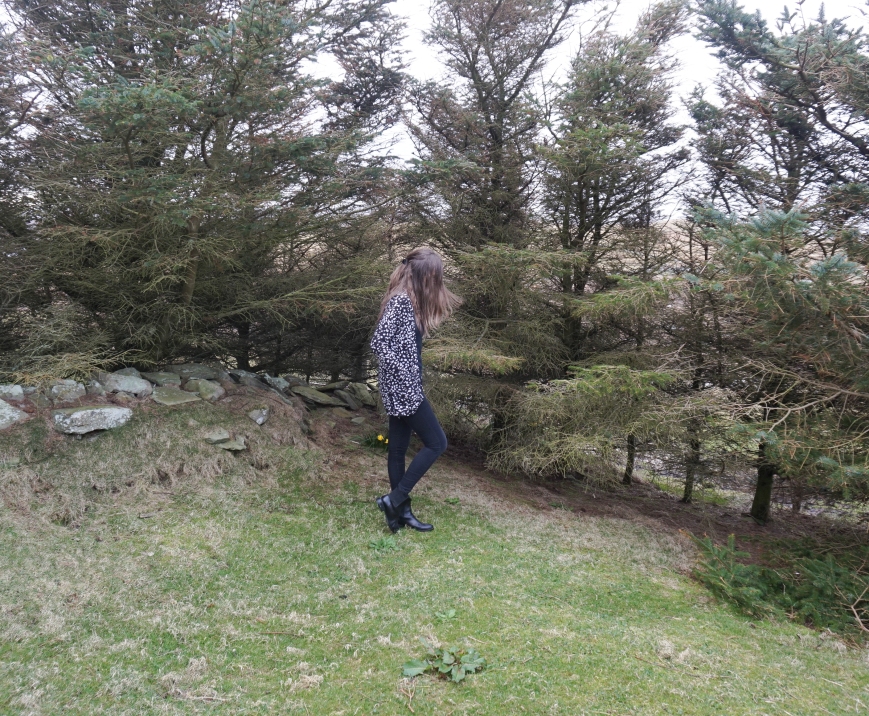
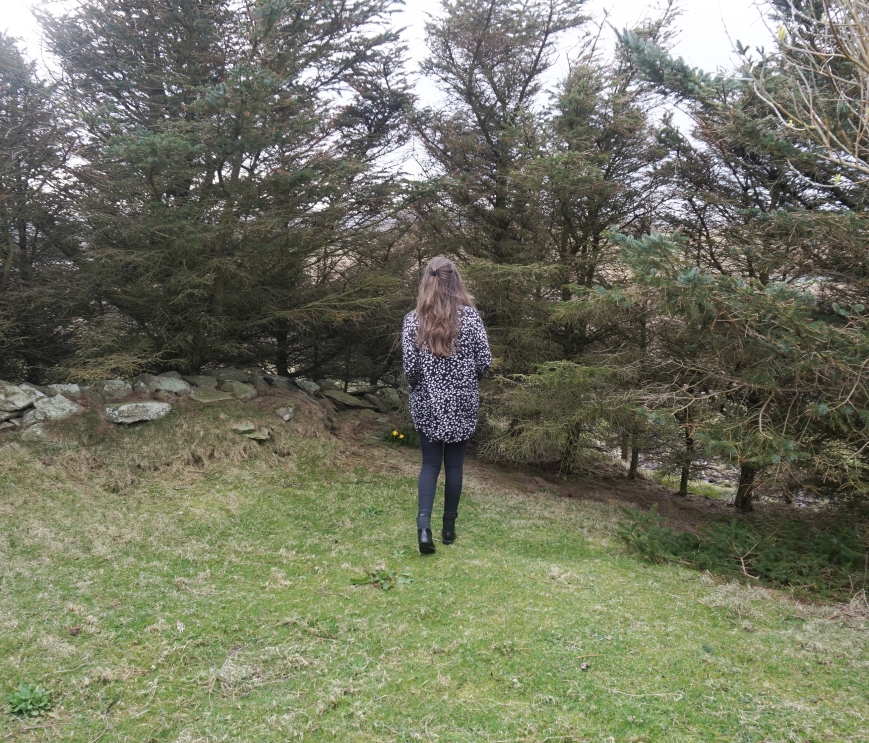
I was really keen to take more photos outside, but it was so windy on the day that we couldn’t get a photo where you could distinguish the silhouette of the dress. So we had to move indoors. I’m excited to be able to do more outdoor scenery shoots again as the weather improves. These are my favourite to do and to share.

A Little Lawn Party Dress

Attie and Dora Pattern from Stylish Dress Book by Yoshiko Tsukiori

Attie and Dora Smock Dress and hand knit cardigan Wool and the Gang

Back view Attie and Dora. Dress from Stylish Dress book

A Little Lawn Party Dress Attie and Dora


SaveSave

SaveSave

Vintage Pledge 2017 Dress

I finished my 2017 Vintage Pledge dress just in time, on the penultimate day of the year.

This was an interesting project,  it took a long time to make despite not looking too complicated. This was mainly because I hacked the pattern and kept changing my mind about the style details.

The pattern was a gift from a family friend last Christmas. I posted a photo of the pattern cover on Instagram earlier this year as I had hoped sharing my intention to make this dress with the sewing community would spur me on to get it done. My major stumbling block was that I couldn’t make a decision about which fabric to use. I had an image in my head of a beautiful version in silk dupion, but as I had never attempted the pattern, that seemed a bit of a risky investment. Towards the end of the year I searched through my fabric stash and came upon  this forgotten peach cotton lawn from Atelier Brunette.

On finishing the toile I realised the style of the pattern wasn’t really to my taste. The full gathered skirt swamped me and looked very old-fashioned.

I shared some images of the toile on my Instagram stories seeking advice from my fellow makers about whether to proceed with the pattern as was, or to hack. The majority chose hack, so hack I did.

I drafted a completely new skirt, kept the cool back detail, and modified the front bodice to give me a bit more coverage across the bust.

The instructions included with the pattern weren’t the best, and as I had made so many changes I basically had to disregard them and make up my own anyway.

The original pattern called for a button closure, but I extended the wrap and added ties, which I prefer.

I decided to finish the front edges of the dress with bias binding, rather than facings, and I am please with how this turned out. I admit I did intend to finish all the seams with bias tape too, but I got lazy and overlocked most of the seams instead. I love to finish a garment really carefully so it is as beautiful on the inside as the outside and to extend its life, but I was worried that this dress might not turn out wearable, so I found I was a bit reluctant to invest so much time into beautiful seam finishes.

Happily, I am really pleased with how this dress turned out and really surprised by how much I love this colour on me – I really need to experiment more with colour. It was out of my comfort zone, but I’m so glad I went for it, as I think it really suits me.

IMG_0139

Vintage Pledge 2017 dress Attie and Dora 3

Vintage Pledge 2017 dress Attie and Dora 4

Vintage Pledge 2017 dress Attie and Dora

Vintage Pledge 2017 dress Attie and Dora 6

Vintage Pledge 2017 dress Attie and Dora 7


A Dora Top, a Knitted Hat and a Walk

So far I have only blogged about my Dora Dresses, but if you have had a look at my pattern on Etsy, you will have seen that the download includes the option to make a hip length top version also.

The best part about the top version is that it is a great scrap busting pattern requiring very little fabric to make, approximately 1m for most sizes. You do also need 0.5m of lining material, but with wider fabrics and in smaller dress sizes you may be able to squeeze the whole top plus the lining out of 1m.

The fabric for the version in the photos below was from Backstitch. I bought it quite a long time ago, and had some scraps leftover from another project. This top was made out of those scraps, win!

The Dora top is a great layering piece and very versatile. In the summer I would wear my cotton lawn versions by themselves with jeans (it doesn’t really get warm enough here for shorts), but in winter I am layering them up with big cardigans and still getting so much wear out of them.

Below I’m wearing mine with this long cosy cardigan I bought a while ago from Celtic and Co. I love their knitwear and it’s made in the UK. I really should try and knit some cables at some point, but I’m still a bit intimidated, maybe one day.

If you like the look of the Dora top you might enjoy these posts about my Dora Dresses. The silver one and the green one.

Handmade Dora Top Sewing Shetland

Handmade Dora Top Attie and Dora

Speaking of knitting, I just finished making this hat for Aaron. I had a couple of balls of wool left from this jumper project and the pattern for the jumper came with an additional hat pattern, so I thought I’d give it a go. It’s just a simple hat, as I left off the colour work, but Aaron says it is his favourite hat ever, so not a bad result. I think it looks a bit weird on me, but it really suits him and my dad has already requested I make him one, so I think this hat has been an unexpected hit.

Hand Knitted Hat Attie and Dora

Aaron in Hat Attie and Dora Blog

We took the above photos on our Sunday walk a couple of weeks ago. It was really fun taking photos of Aaron. It made me realise I should probably make more handmade clothing for him. Can anyone recommend any good menswear patterns? I really struggle to find any I like. I did buy the Aldrich menswear book ages ago so maybe I should try drafting my own. So many ideas, so little time 🙂

Fern Shorts

This month I was asked to do some pattern testing for Afternoon Patterns.

Their new pattern, the Fern Shorts, is due to be released today, the 1st September 2017.

I was really excited to be asked to pattern test for them. I have followed and admired Afternoon patterns for a long time. If you haven’t heard of them check out their amazing website. I love the aesthetic of their designs and their printed pattern covers are gorgeous.

When I first heard that the pattern I would be testing was shorts I did have an ‘uh oh’ moment. As you know I live in Shetland, and it isn’t really known for its shorts weather :). However, the lovely Jenny of Afternoon patterns mentioned that they would look great sewn up in lightweight wool fabrics and worn with tights, so I knew I wanted to go in this direction to get the most wear out of them all year round.

I had a piece of cotton and wool blend liberty fabric in my stash that was gifted to me by a really kind friend who knows how obsessed I am with fabric. It was 1.85m length which just happened to be the perfect length for this project so I felt it was fate.

I am so happy with how these turned out. I was nervous about the fit as I have struggled in the past to find shorts that I feel comfortable in, but I think these are really flattering. I did lengthen them by 2cm on the “lengthen or shorten here” line and that seems to have given me the perfect amount of room and they don’t ride up or feel remotely tight. I did size up to make sure they were loose fitting as I feel self conscious in tight shorts.

I would thoroughly recommend this pattern. It was a fun sew and I love my Fern Shorts. I can see myself wearing them a lot as they can be dressed up or down. The fabric is so soft, I could even get away with wearing them without tights on warmer days in the summer.

Fern Shorts Afternoon Patterns made by Attie and Dora

7

Fern Shorts Afternoon Patterns made by Attie and Dora

Fern Shorts Afternoon Patterns made by Attie and Dora


My First Hand-Knitted Jumper

Handmade Shetland wool Jumper Attie and Dora Shetland

Bit of a change of subject today. Although I think of Attie and Dora as very much a sewing focused blog, I have recently become interested in knitting and want to incorporate lots of warm practical knitwear into my handmade wardrobe.

Knitting my first garment was an interesting process for me. I had very little experience of knitting, but I was pleasantly surprised at the outcome. I was a bit out of my depth, but jumping head first into this new challenge worked for me. I admit I did need help with deciphering some of the instructions. I find knitting pattern jargon really confusing. Luckily I know a few knitters who were happy to answer my questions. My mum taught me how to graft the armholes, I would have been clueless at that stage without her guidance. I used a youtube tutorial to figure out how to knit on four needles when I got to the neckline, but mostly I just went for it and figured it out as I went along.

The pattern included an icelandic style yoke, but I wanted a block colour for a more versatile garment. There is no name of the designer on the pattern, my mum bought it in a charity shop.

I bought the wool from Jamieson’s of Shetland. It is ‘mirrydancers’ Shetland Marl and I think I used 8 or 9 100g balls.

This project took me quite a while as I was only doing a few rows at a time in the evenings. I find knitting really relaxing and a fun alternative to sewing, particularly if I want to feel that I am doing something creative, but can’t be bothered to go up into my sewing room. I find I will knit while I watch tv and I love that  working in stocking stitch doesn’t require much concentration. It is sort of meditative.

It wasn’t all a breeze, there were moments when I made silly mistakes and was despairing a bit, but once I finished it I felt such a massive sense of achievement and have started my next knitting project already, a grey mohair cardigan using a pattern from Wool and the Gang.

DSC07492-2

DSC07482-2

DSC07603

DSC07585


Driftless Cardigan

Just a quick post today. I wanted to show you the Driftless cardigan I made this week. The pattern is by Grainline Studio and it gets a big thumbs up from me.  I love the design and it came together really quickly on the overlocker.

The pattern calls for a medium weight knit and I wasn’t sure if this really soft and stretchy hacci sweater knit fabric from Girl Charlee UK would suit the pattern, but I think it worked. The fabric drapes beautifully and I feel effortlessly chic in this cardigan.

I actually made no alterations to the pattern for my height and it fits really well. I think if I make this again in a sturdier knit, I will add a bit of length to the bodice and sleeves, as I’m guessing the stretchiness of the fabric is having an effect on the fit.

I’ve already ordered more fabric to make more of these, so keep an eye out for more versions coming soon.

Driftless Cardigan Front

Driftless Cardigan Side

Driftless Cardigan Front

Driftless Cardigan Back

Handmade Wedding Dress and Silk Robe

2016 has been a really interesting year for me sewing-wise, but so far my biggest sewing achievement has gone unblogged.  The photos came through just in time to write this post before the end of the year, and I can’t wait to tell you all about my experience making a wedding dress and silk robe for my friends’ wedding.

Lace Knit Wedding Dress and Silk Robe

Photo credit Alexander Martin

The bride’s vision was a knitted lace, backless dress. The dress was made in collaboration with the mother of the groom, Helen, who made the extraordinary knitted part of the dress.  My job was to make the silk underdress, which would be combined with the lace knit overlay. I was also tasked with the job of designing and making a floor length silk robe with a slight train.

The underdress was necessary, not only to protect the bride’s modesty, but also to provide some structure to support the knitted layer and hold the shape of the garment when the two were sewn together. This was of particular concern as the wool had a tendency to stretch out.

The main challenge we faced making this dress was that the bride lives in Glasgow so I posted each toile to the bride and carried out fittings via FaceTime and Facebook messenger. I did visit her once in person to adjust the dress, which was helpful, but probably the saving grace in the end was that we made a duct tape dress-form of the bride’s torso so that we could use it to check the fit as we went along.

The dress

My process for making the silk part of the dress began by making the bride’s bodice and skirt blocks. I then started drafting the dress and sent her the first toile to try on.

The first toile was very low cut, all the way down to the small of her back. It occurred to us early on that this design feature could prove quite impractical, as it would be awkward to wear and dance in without it falling off. I did a lot of research about constructing backless dresses, mainly online and with reference to other patterns and shop bought garments. We concluded that if we made it so low cut we would either need to have something holding it together at the back along the top of the shoulders,  or we would need to stick the dress to her on the day to keep it in place.

In the end we decided this just wasn’t going to be practical and it made sense to raise the dress at the back closer to her natural waist, so I redrafted the pattern.

In total I made 10 toiles before the final garment. Some were due to fitting alterations, but also the style of the dress evolved quite a lot throughout the process as the bride tried them on and clarified her vision. The final version ended up being a bit of a pattern hack as very close to the deadline we changed the bodice style from princess seamed, empire line to the lingerie slip like style. I used the cup piece from a vintage lingerie pattern (New Look 6029) to save myself time and merged it with my dress to give the final garment you see in the pictures.

The under-dress was made with silk dupion, which was a beautiful weight and provided some structure for the knitted overlay. The two were made independently and then sewn together at the zip.  The dress was sewn partly on the machine, but finished by hand. I used satin bias tape to finish the hem and the neckline. The straps were rouleau made with the silk dupion. I sewed the zip in by hand.

I took some photos of the underdress before we attached the knitted layer.I apologise for the terrible lighting. I was very busy that month so they were taken at 6am before I went to work. The sun was only just rising, so I didn’t have much daylight to work with. I was actually lying on the floor to get the full length of the dress in the shot. Although they aren’t the most beautiful photos I  wanted to include them to give you an idea of what the underdress looked like before we combined the two.

Also my over-critical brain wants me to mention that the dress could have done with a good steam before these photos, but oh well 🙂

Silk Wedding Dress
Silk Wedding Dress
Handmade Silk Wedding Dress

Handmade Silk Wedding Dress

This week the happy couple, Jim and Sam, sent me copies of their wedding photos so here is the dress and robe on the day. It was an amazing feeling to see Sam walking down the aisle in mine and Helen’s creation. We were very proud. It was a first for both of us.

Lace Knit Wedding Dress

Photo credit Alexander Martin

Lace Knit Wedding Dress

Photo credit Alexander Martin

Lace Knit Wedding Dress

Photo credit Alexander Martin

Lace Knit Wedding Dress

Photo credit Alexander Martin

Lace Knit Wedding Dress

Photo credit Alexander Martin

The Robe 

The robe was made with the same fabric as the underdress. I made an outerwear and sleeve block from the bride’s measurements. I then drafted the pattern, which was floor length with a slight train. The robe had no closure at the front, which meant it was very simple and elegant in style. Unfortunately I don’t have a photo of the full length of the robe. The bride wore it as she walked into the hall for the meal and it billowed out behind her beautifully.

Lace Knit Wedding Dress and Silk Robe

Photo credit Alexander Martin

P.s.If I manage to get hold of a photo of the full silk robe I will share it on Instagram and update this post.


World Map Dress

I went to my friend’s hen party a couple of weekends ago and the theme was colours or countries. I was at a loss as to what to wear, I’m usually a bit rubbish at dressing up, but then I realised I can sew and decided to make myself something fun.

The first thing that came to mind was a flag dress (Geri Halliwell at the brits style) but it’s been so overdone. I then had the idea of a world map dress so I could be ALL the countries. I googled world map fabric and found this on eBay  Most of the world map fabrics I found were more suited to upholstery projects and the one I chose was still rather thick, but I thought it would be fine as long as I chose a pattern which would work with a stiffer fabric with very little drape.

I used my block to draft this pattern a few months ago, made myself a dress which I am still yet to blog, and left it lying under my cutting table. I now have no idea why i abandoned this pattern as I love it. The design is quite simple, a fitted bodice with a half-circle skirt, but it is so flattering and I am now a complete convert to circle skirts, I love the way they fall so nicely and are simple to draft. I added side seam pockets to the skirt forgetting that the zip was to be in the side seam, so that was a bit silly, but I managed to make it work. Next time I would definitely add a seam allowance to the centre back and place the zip there instead. The bodice is lined with the same fabric and all the seams were finished with my overlocker.

I have been really busy lately, with various projects, so this was a bit of a rush job. I didn’t spend time worrying about pattern placement as I really didn’t expect to ever wear it again, other than for fancy dress, but it turns out I actually really like it and might get more wear out of it than I first thought.

I think I will make a few more of these for myself for summer, the length is perfect for casual or formal wear and I might even make one in my silk from India, which I think I have mentioned a few times. I have been hoarding it for so long and still haven’t been brave enough to use it. What do you think? Should this dress be relegated to the fancy dress wardrobe or is it nice enough to wear day to day?

world map dress front view

world map dress front view

world map dress front view 2

world map dress side view

World Map Dress back view