
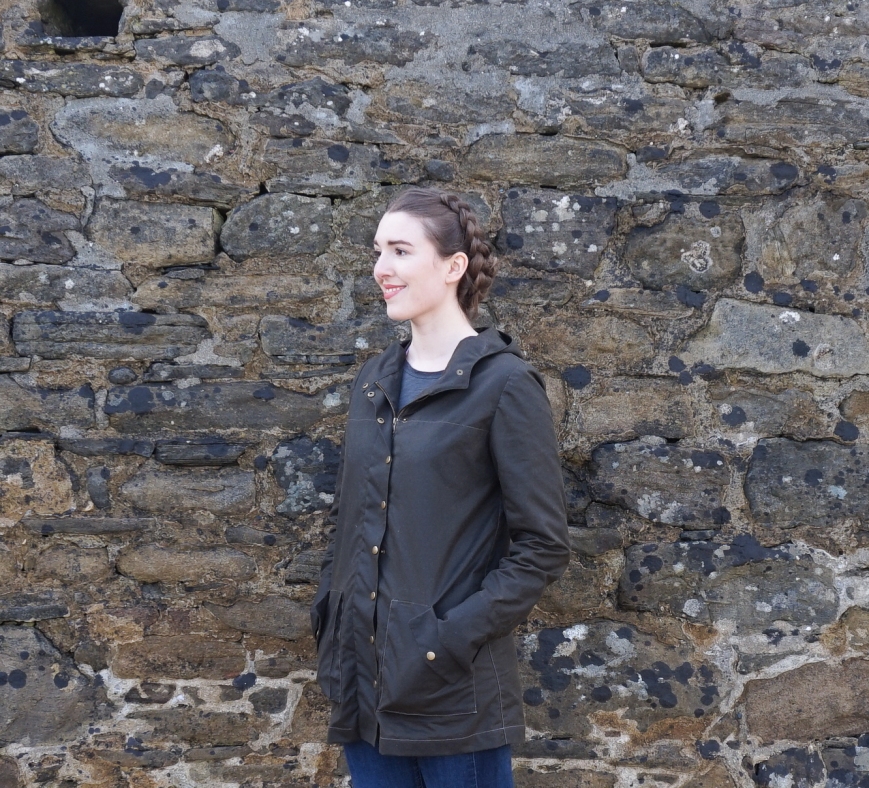
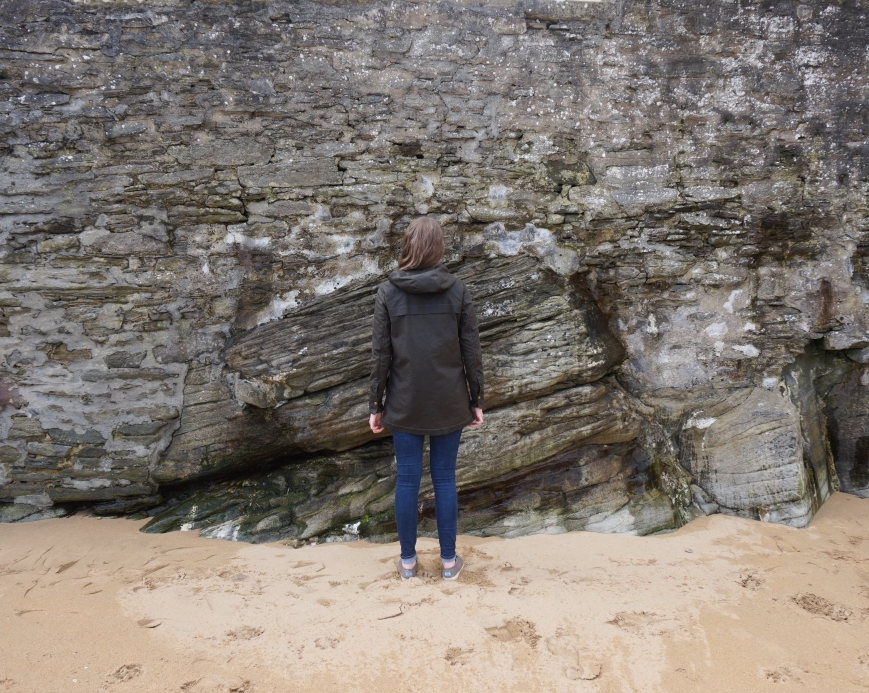
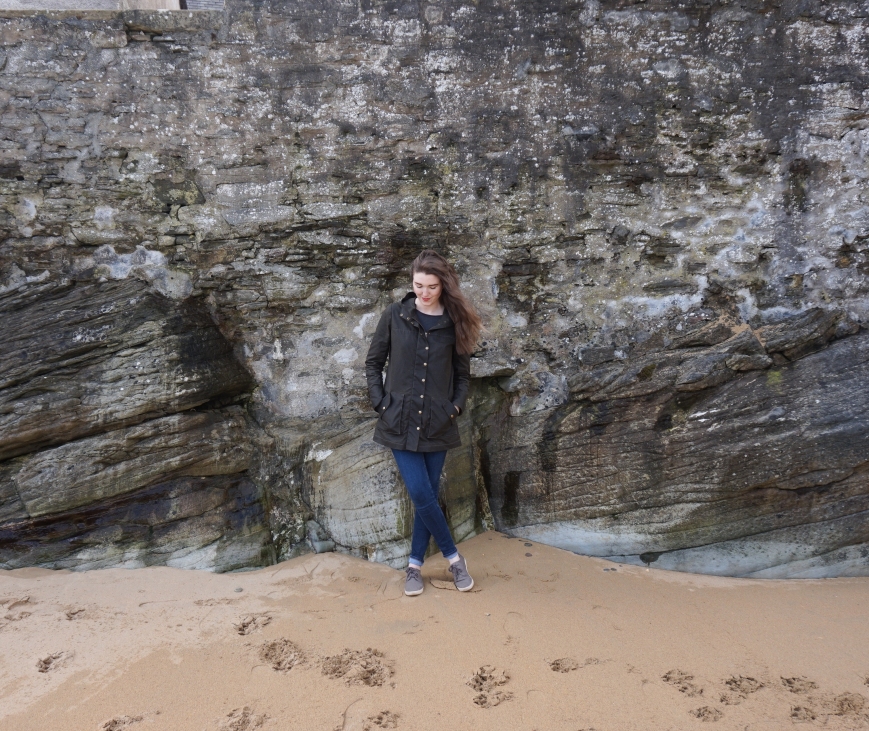
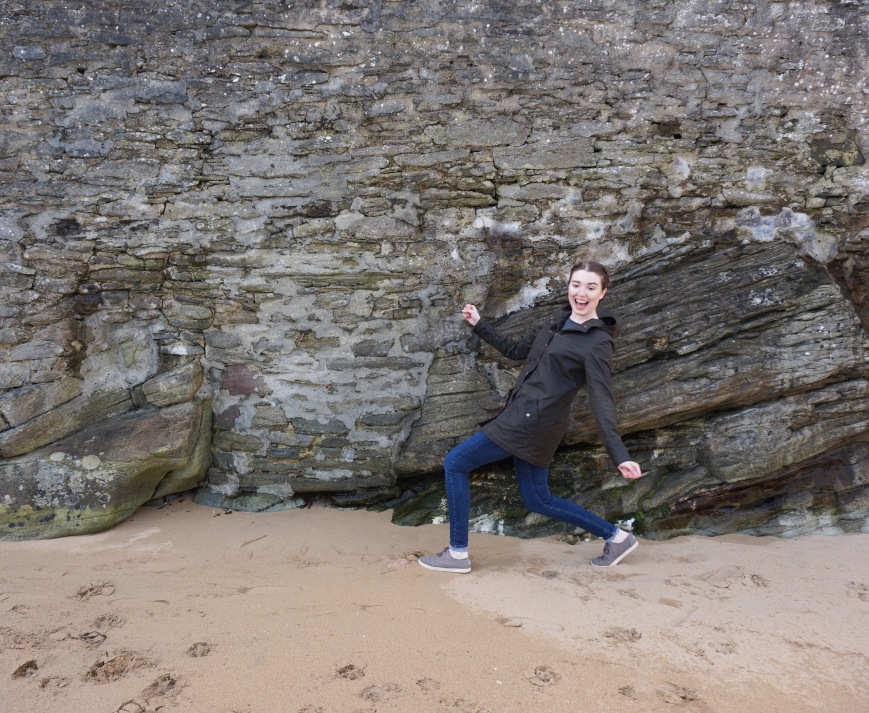
It’s finally done! My first handmade jacket.
I have to be honest I really struggled with this project, not at all because of the pattern, but due to my fabric choice. I think my mum’s quote on seeing the jacket half way through sums it up nicely – ‘you don’t make things easy for yourself do you’– no mam, no I don’t!
It was totally worth it though as I LOVE this jacket. I would go as far as saying it’s my favourite piece of outerwear that I have ever owned, and I made it! I have Closet Case Patterns to thank for that. What an excellent pattern. I strongly recommend you buy it if you want to make your own anorak, although I wouldn’t recommend using oilskin for this unless you have a powerful sewing machine.
I love the design of this jacket. The pockets are roomy and look really professional. I opted for the hood rather than the collar, but didn’t include the drawstring as my fabric was very stiff and I didn’t think it would gather well.
I made some adjustments for my height (I am 5’11”). I lengthened the bodice by 5cm and also lengthened the sleeves. I deliberated about where to add the extra length to the sleeves and decided to just double the length of the cuff. They are now the perfect length for me.
The fabric I used is superb quality khaki oilskin from Merchant and Mills. Oilskin isn’t terrible to work with, but when you have multiple layers to sew through you need some power behind you and unfortunately my sewing machine at the time, a Janome 432S, just didn’t have enough. I have since bought myself a new sewing machine, a Bernina 350PE, and it was able to handle the fabric much better. I found the topstitching particularly tricky on my old Janome. I really struggled to sew the pockets and any other bulky seams. My other traumatic memory of this project was trying to set in the sleeves, easing in oilskin is a nightmare. I managed it eventually, but it took a good few hours.
My tips for working with this oilskin would be:
- to use bulldog clips, not pins as they mark the fabric
- use a denim needle, it worked well for me
- take your time, as the needle will leave permanent and very visible holes in the fabric, so there is no room for error
- when setting in sleeves, baste first and hold in place with bulldog clips or use pins inside the seam allowance
- grade seams to reduce bulk wherever possible
- invest in a hump jumper, or make one out of a piece of card
- press seams with fingers or use an iron on a low heat with a pressing cloth, test on a scrap of fabric first
- topstitching this material with topstitching thread is really tricky, so it may be easier to use normal thread as I really struggled to do this neatly, especially on my old Janome.
- be prepared for one long slow project, as you can’t really make mistakes you will have to really take your time over this, so not a speedy project.
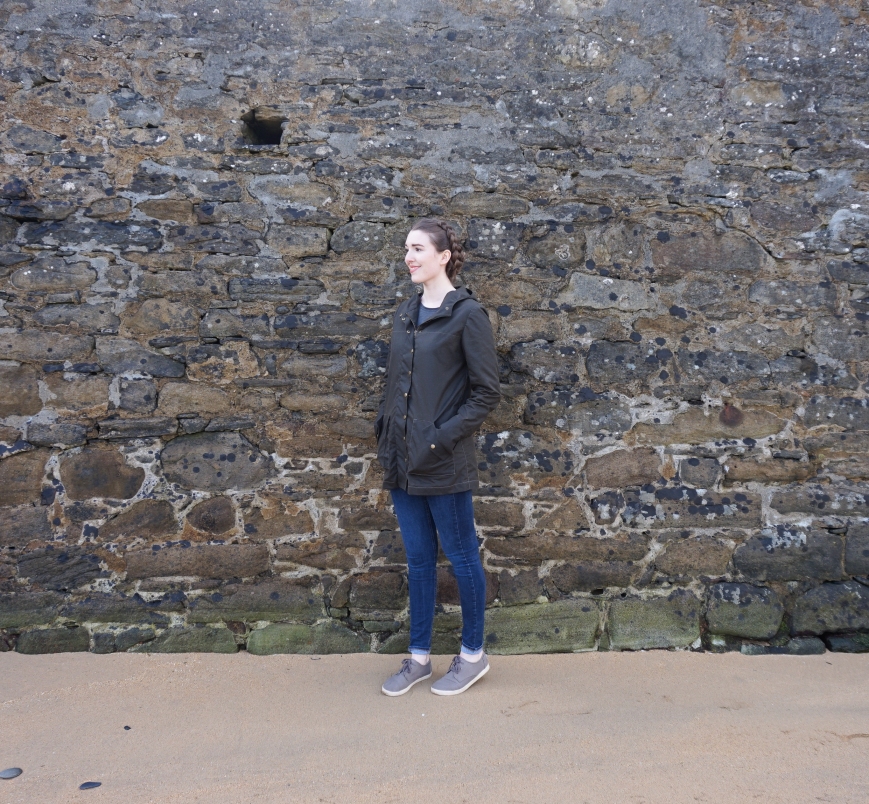

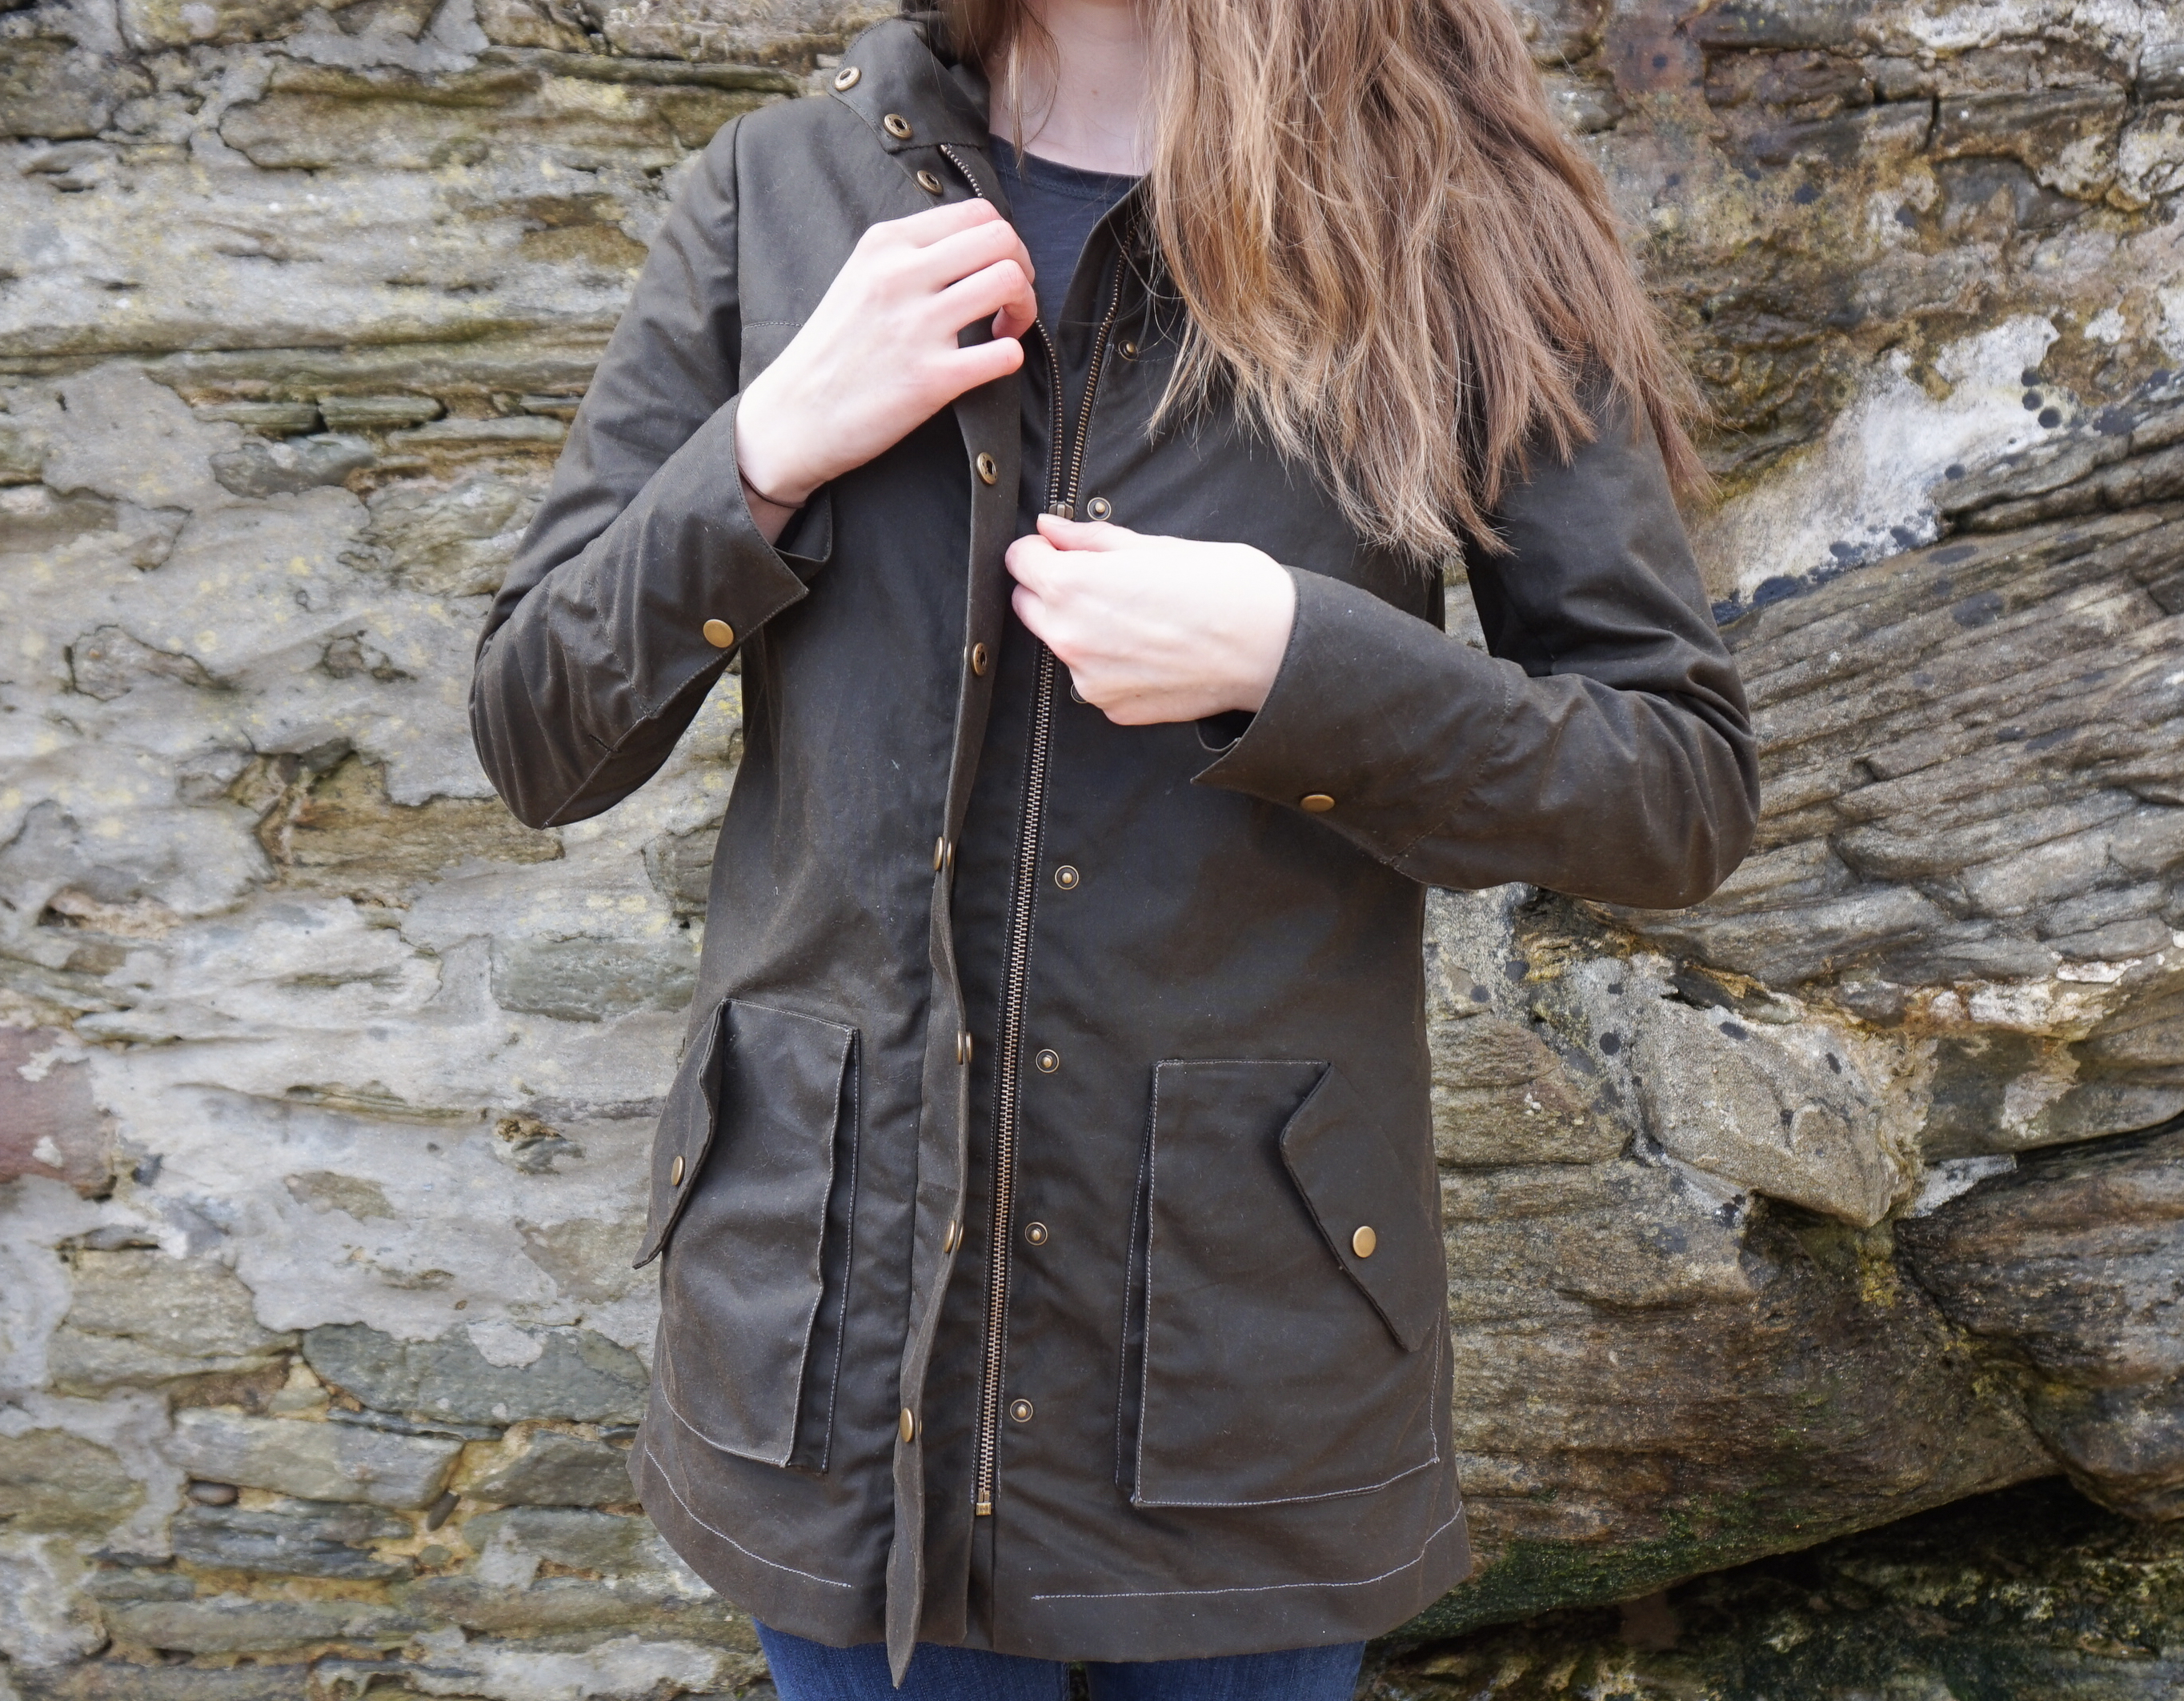
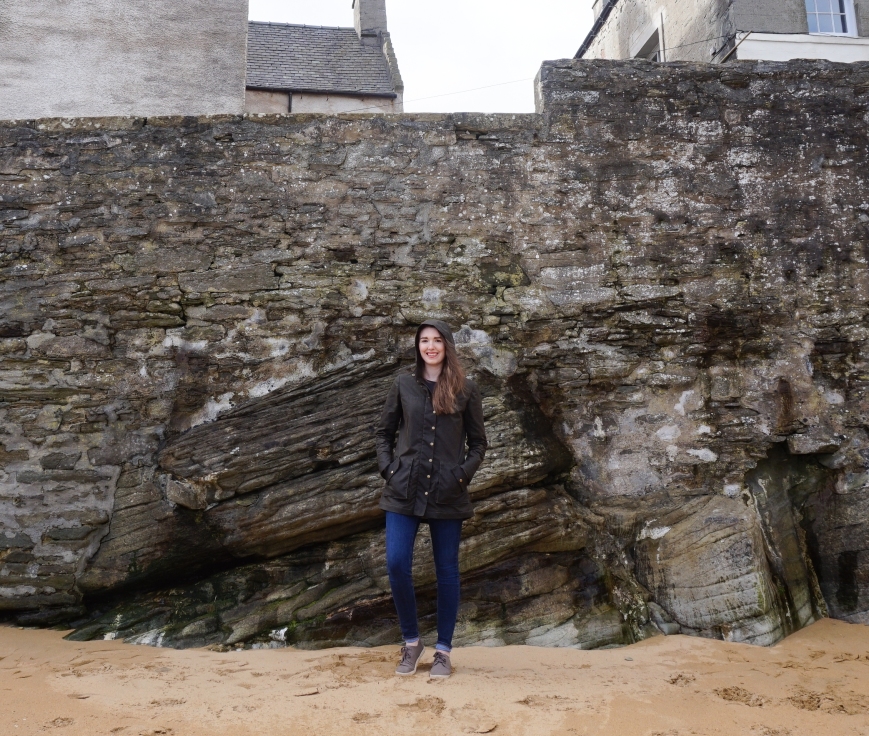
Pattern – Kelly Anorak by Closet Case Patterns
Fabric – Khaki Oilskin from Merchant and Mills
Hardware – Hardware kit from Closet Case Patterns

Well done – what an achievement. Your patience has been rewarded.
LikeLiked by 1 person
Thank you! It’s such a high when you finish a long slow project 🙂
LikeLike
Love it! It’s a fantastic oilskin jacket. Regarding seam jumper – you got one with your bernina, didn’t you? A fan with narrow nylon strips? It is , amazingly enough, easy to use.
And to your mum I’d say – why make it easy for oneself? Challenges means growth, and I bet you gained a lot in this project that will serve you well in others. Especially now you have a proper machine… 😆 (yes, I love bernina).
LikeLiked by 1 person
Thank you so much! Yes I did get one with my Bernina and it is great. I am so in love with my Bernina, I don’t know why it took me so long to take the plunge and get one. It’s excellent. Yes I definitely did learn so much and I really love pushing myself, I love learning new skills 🙂
LikeLiked by 1 person
Don’t you just love the sound? It purrs… And has perfect seams and strong motor and all that, but the sound! ❤
LikeLiked by 1 person
Haha! That’s so true! When I first used it I was shouting downstairs to my boyfriend to listen to it as I couldn’t believe how quiet it was.
LikeLiked by 1 person
wow! what a project. that’s a really impressive final outcome and great notes about working in oilskin. It looks great and extremely practical! one of my favorite kelly anoraks! 🙂
LikeLiked by 1 person
Thank you so much 😊
LikeLiked by 1 person
I love that fabric, and your grief sewing it was well worth it! Great Job!
LikeLiked by 1 person
Thank you! 😀 I am really enjoying wearing it. Feel very proud.
LikeLike
That is awesome! You have inspired me to try a jacket 😃
LikeLiked by 1 person
Excellent!😀
LikeLiked by 1 person
Hello,
I’ve received the link of your blog from Closet Case Patterns because I would like to make Kelly with the same fabric.
Congrats yours is great!!
I’ll take your advices for making mine.
LikeLiked by 1 person
Sorry for my english….I’m from France.
LikeLike
Cool Would love to hear how you get on. Good luck 🙂
LikeLiked by 1 person